
If you have questions about current lead times, please contact us.
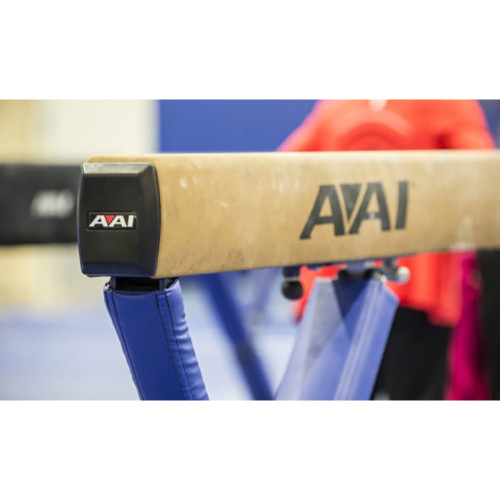
Official Balance Beam Recovery Kit for all AAI competition Balance Beams including the ELITE Balance Beam.
Kit Includes:
BEFORE YOU BEGIN
INSTRUCTIONS
Using a 7/32 Hex Key, loosen and remove bolts from the bottom beam plates. Remove the steel end plates and the 8 small plates inside the beam.
Using pliers or vise grips, remove the beam cover. The Black foam strip on the top of the beam must be removed. Use a putty knife to clean this area completely.
You are now ready to recover the beam. Apply adhesive to the beam and widest side of the pad. Lay the top pad on top of the beam with the wide side down. Be sure it is smooth, so that bubbles cannot form in any gaps.
Lay the beam cover, upside down, on a table. Center the beam, top side down, on the beam cover. Tip the beam onto one side so the top is exposed. Spray the top of the beam and the middle of the beam cover with glue. Wait for the glue to get tacky, then tip the beam onto its top. Press firmly and allow a few minutes for the glue to set.
Spray one side of the beam and that side of the beam cover with glue. Be sure to spray the lips of the beam that the cover will fold around. After the glue is tacky, pull up firmly on the cover and press firmly to the beam. THIS REQUIRES 2 PEOPLE. Repeat this procedure for the opposite side.
Press the cover tightly down in to the lips on the bottom of the beam. Use the handle edge of the utility knife to press on the edges. Remove all excess cover by running your knife along the inside of the beam.
Spray glue inside ends of beam. When glue starts to get tacky, wrap the cover around the end of the beam and attach to the inside. Use your utility knife to splice or notch cover to create a smooth wrap.
To reassemble the beam, attach the beam end plates to the small connection plates using the bolts you removed earlier. Screw the bolts in to the plates only a few thread lengths so that the small connecting plates hang loosely. This should enable you to install them without much difficulty.
Attach the end cap assembly to the beam end plate and slide end plate assembly into the beam until plate and end cap are flush. Tighten the plate to the beam.
Install the plastic center bracket by inserting one side under the lip of the beam. Using a rubber hammer, pound the other side down into place.
Your balance beam should now be ready for use
